
Calyros DevLog #10 - Walls, doors, windows and floors!
Published on
Having recently completed some project restructuring that wouldn't have been very fun to show off in a dev log, I was really excited to get back to building visual things!
If you didn't catch my previous post, I've created an official discord server for Calyros where I regularly post screenshots - come join us!
Walls
As seen in this post on my BlueSky page I've had something vaguely remembling walls working for a while now.
This task was largely about importing that functionality - expanding it with doors and windows - and ironing out some bugs I had with it.
I'm really keen to use procedural generation to create models in Godot for two reasons:
-
Once I've built the code to create walls, I can use it in many places without have to spend a lot of time.
-
3D modelling isn't one of my strengths, so any time I need to build models, it'll be cheaper and faster for me if I don't need to rely on a third party.
Walls in Calyros (we've got a website now!) are defined by a few simple bits of data.
var doorways: Array[int] = [];
var height: GameConstants.WallHeight = GameConstants.WallHeight.Full;
var points: Array[Vector2i] = [];
var storey: GameConstants.Storey = GameConstants.Storey.Ground;
var thickness: GameConstants.WallThickness = GameConstants.WallThickness.Normal;
var windows: Array[int] = [];
Let's examine these a bit closer.
Points
points is an array of Vector2i. It defines the "path" a wall takes through my map. For now, this path has to be ordered clockwise (otherwise the interior becomes the exterior), but I'm going to add a function that'll reverse the order of the points.
Points only need to define the "corners" of a building. Separately, I've implemented this function, that'll convert points into segments.
func get_segments() -> Array[WallSegmentResource]:
    var segments: Array[WallSegmentResource] = [];

    # There are more segments then there are points, so let's keep a rolling
    # index for wall segments
    var rolling_index: int = 0;
    # For each point
    for point_index: int in self.points.size() - 1:
        # Get this point
        var this_point: Vector2i = self.points[point_index];
        # Get the next point
        var next_point: Vector2i = self.points[point_index + 1];
        # Calculate the direction
        var direction: Vector2 = next_point - this_point;
        # Figure out how many steps that is, e.g. tiles. Diagonal and straight
        # lines are treated the same
        var steps: int = max(abs(direction.x), abs(direction.y));
        # Like direction, but in absolute units of 1
        var signed: Vector2i = direction.sign();

        # Every step you take
        for segment_index: int in steps:
            var from: Vector2i = this_point + signed * segment_index;
            var to: Vector2i = this_point + signed * (segment_index + 1);

            # If the segment is in doorways or windows, set the type
            var type: WallSegmentResource.Type = WallSegmentResource.Type.Normal;
            if rolling_index in self.doorways:
                type = WallSegmentResource.Type.Doorway;
            elif rolling_index in self.windows:
                type = WallSegmentResource.Type.WindowFrame;

            # Create a wall segment
            segments.append(
                WallSegmentResource.new(
                    from,
                    to,
                    type,
                )
            );
            rolling_index += 1;

    return segments;
Essentially, each stretch of wall is broken up into single tile segments. Each segment is then drawn seperately.
Doorways and windows
As you can see in the code snippet above, segments can be "Normal" or they can be a "Doorway" or "Window".
When we break a wall up into segments, we give each segment an integer ID. If that ID is in the doorways array, we give it a type of doorway. If it's in the windows array, we give it a type of window.
Here's a close-up of a doorway.
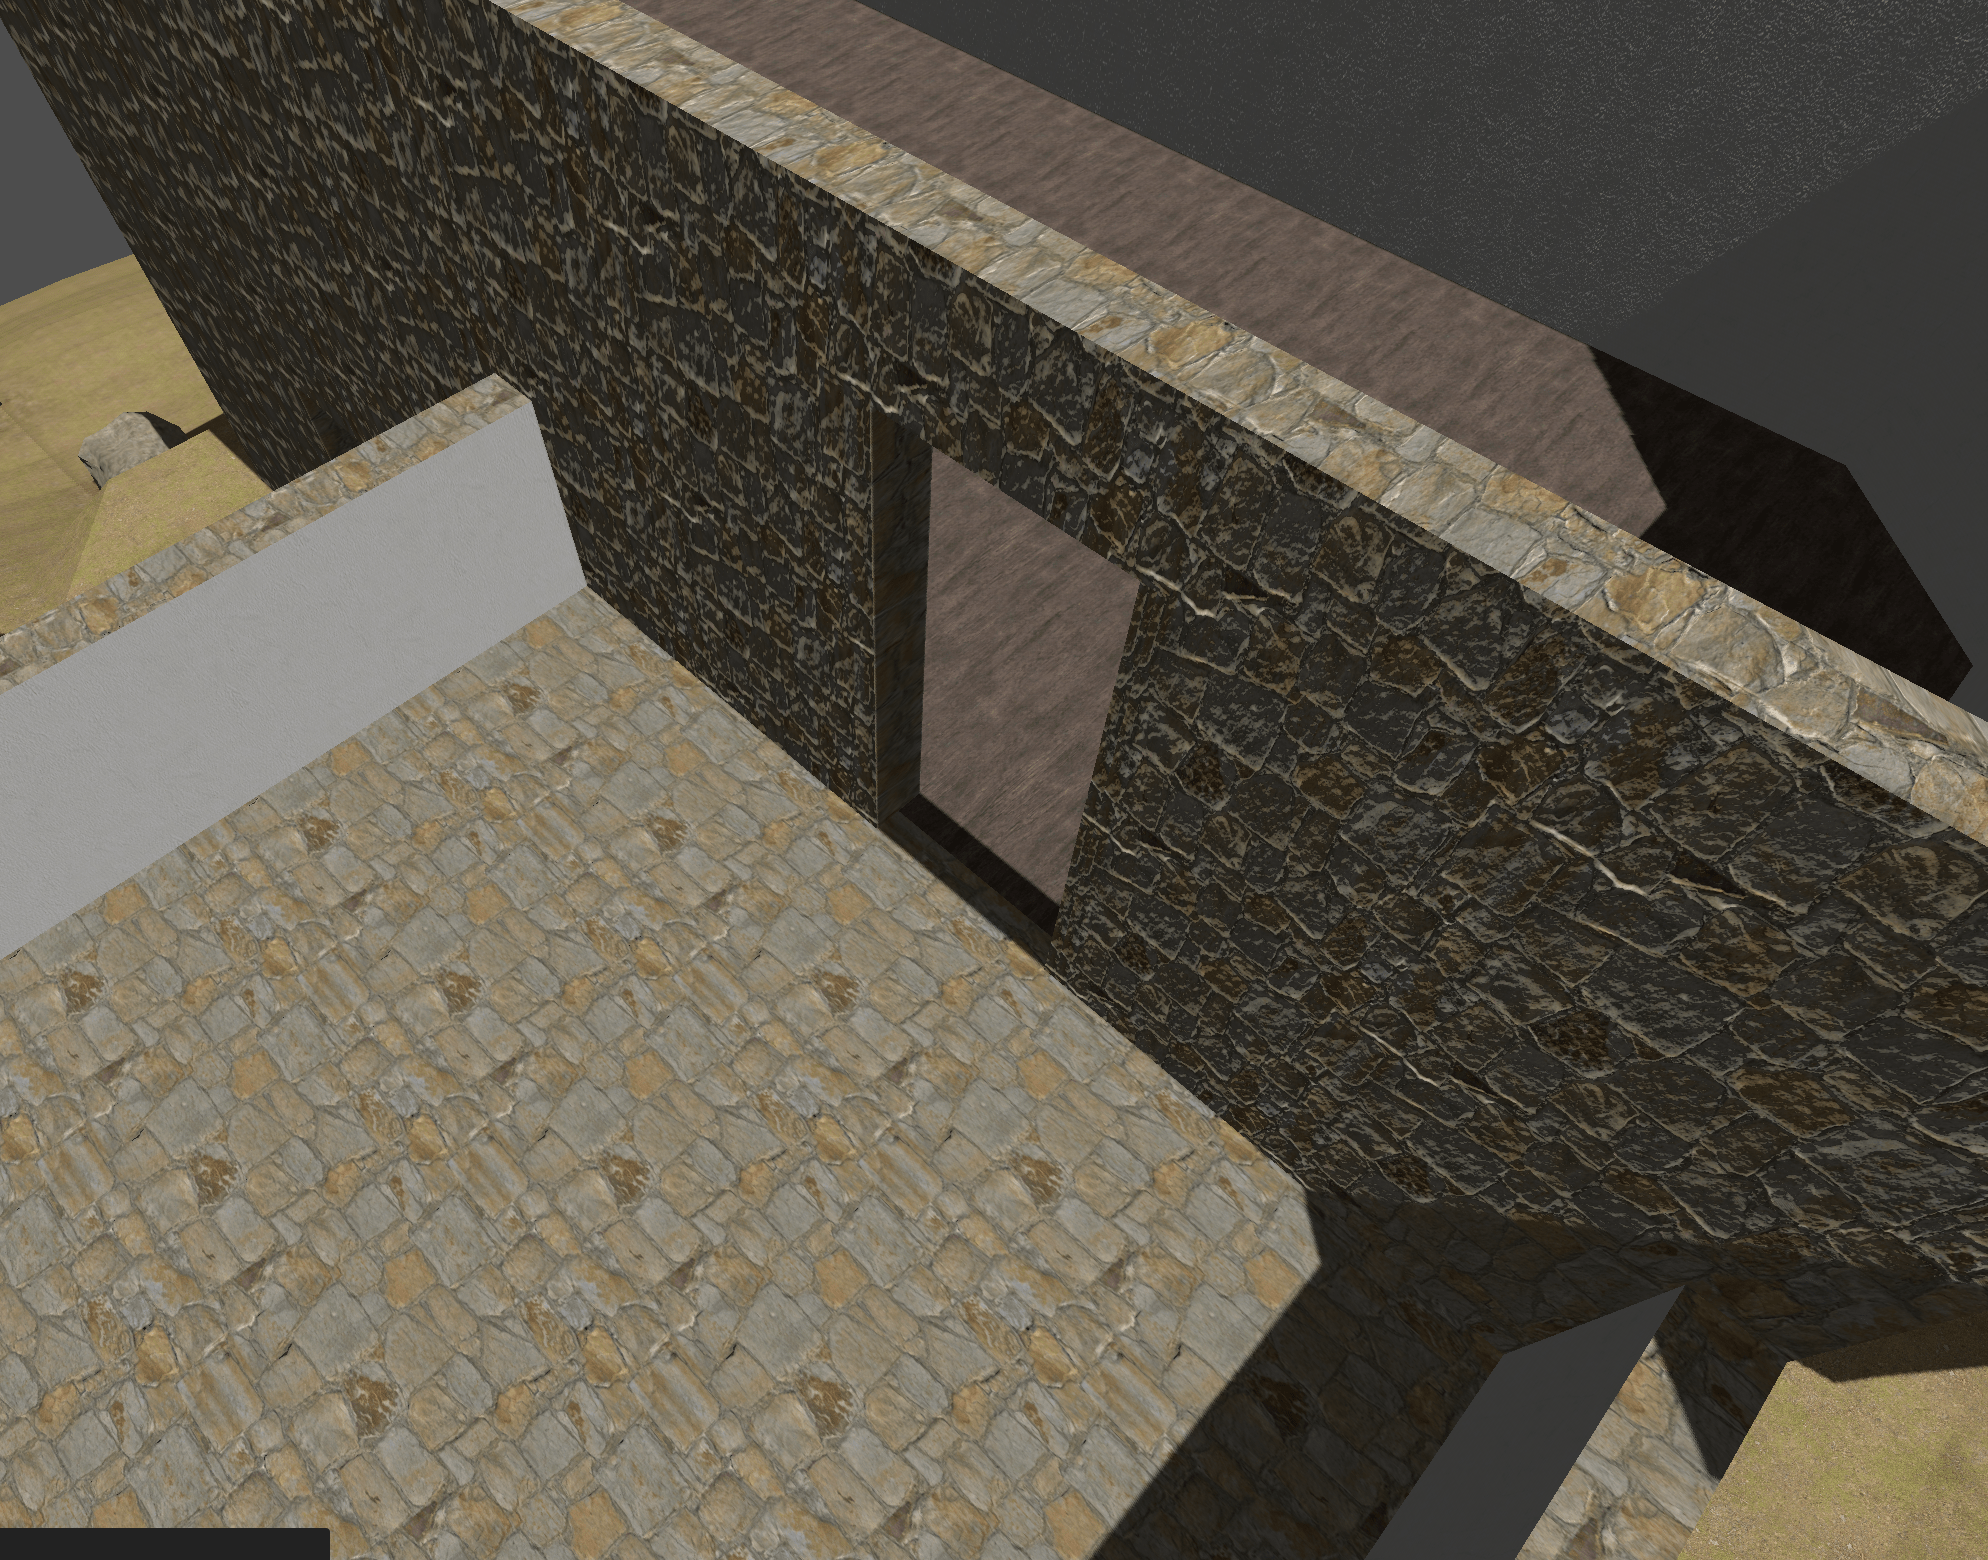
When we want to display the wall segment, we use a different renderer depending on if it's a normal bit of wall, a doorway or a window.
Thickess
Before we render a segment though, we need to know how thick the wall is. We use thickness for this. A wall's thickness can be Thin, Normal or Wide. I'm not totally settled on what the thicknesses will be - for now I'm using 0.125 - but they'll never be so wide as to prevent the player walking on a tile adjacent to a wall.
We get the "footprint" of the wall, we extrude out from every point in the wall a certain distance. The maths for this was surprisingly complicated - I might share a tutorial on it later.
Height
The other part of rendering a wall is giving it a height. A the moment, walls have four options Small, Medium, Large and Full. A small wall can be seen bordering the verander in this image.
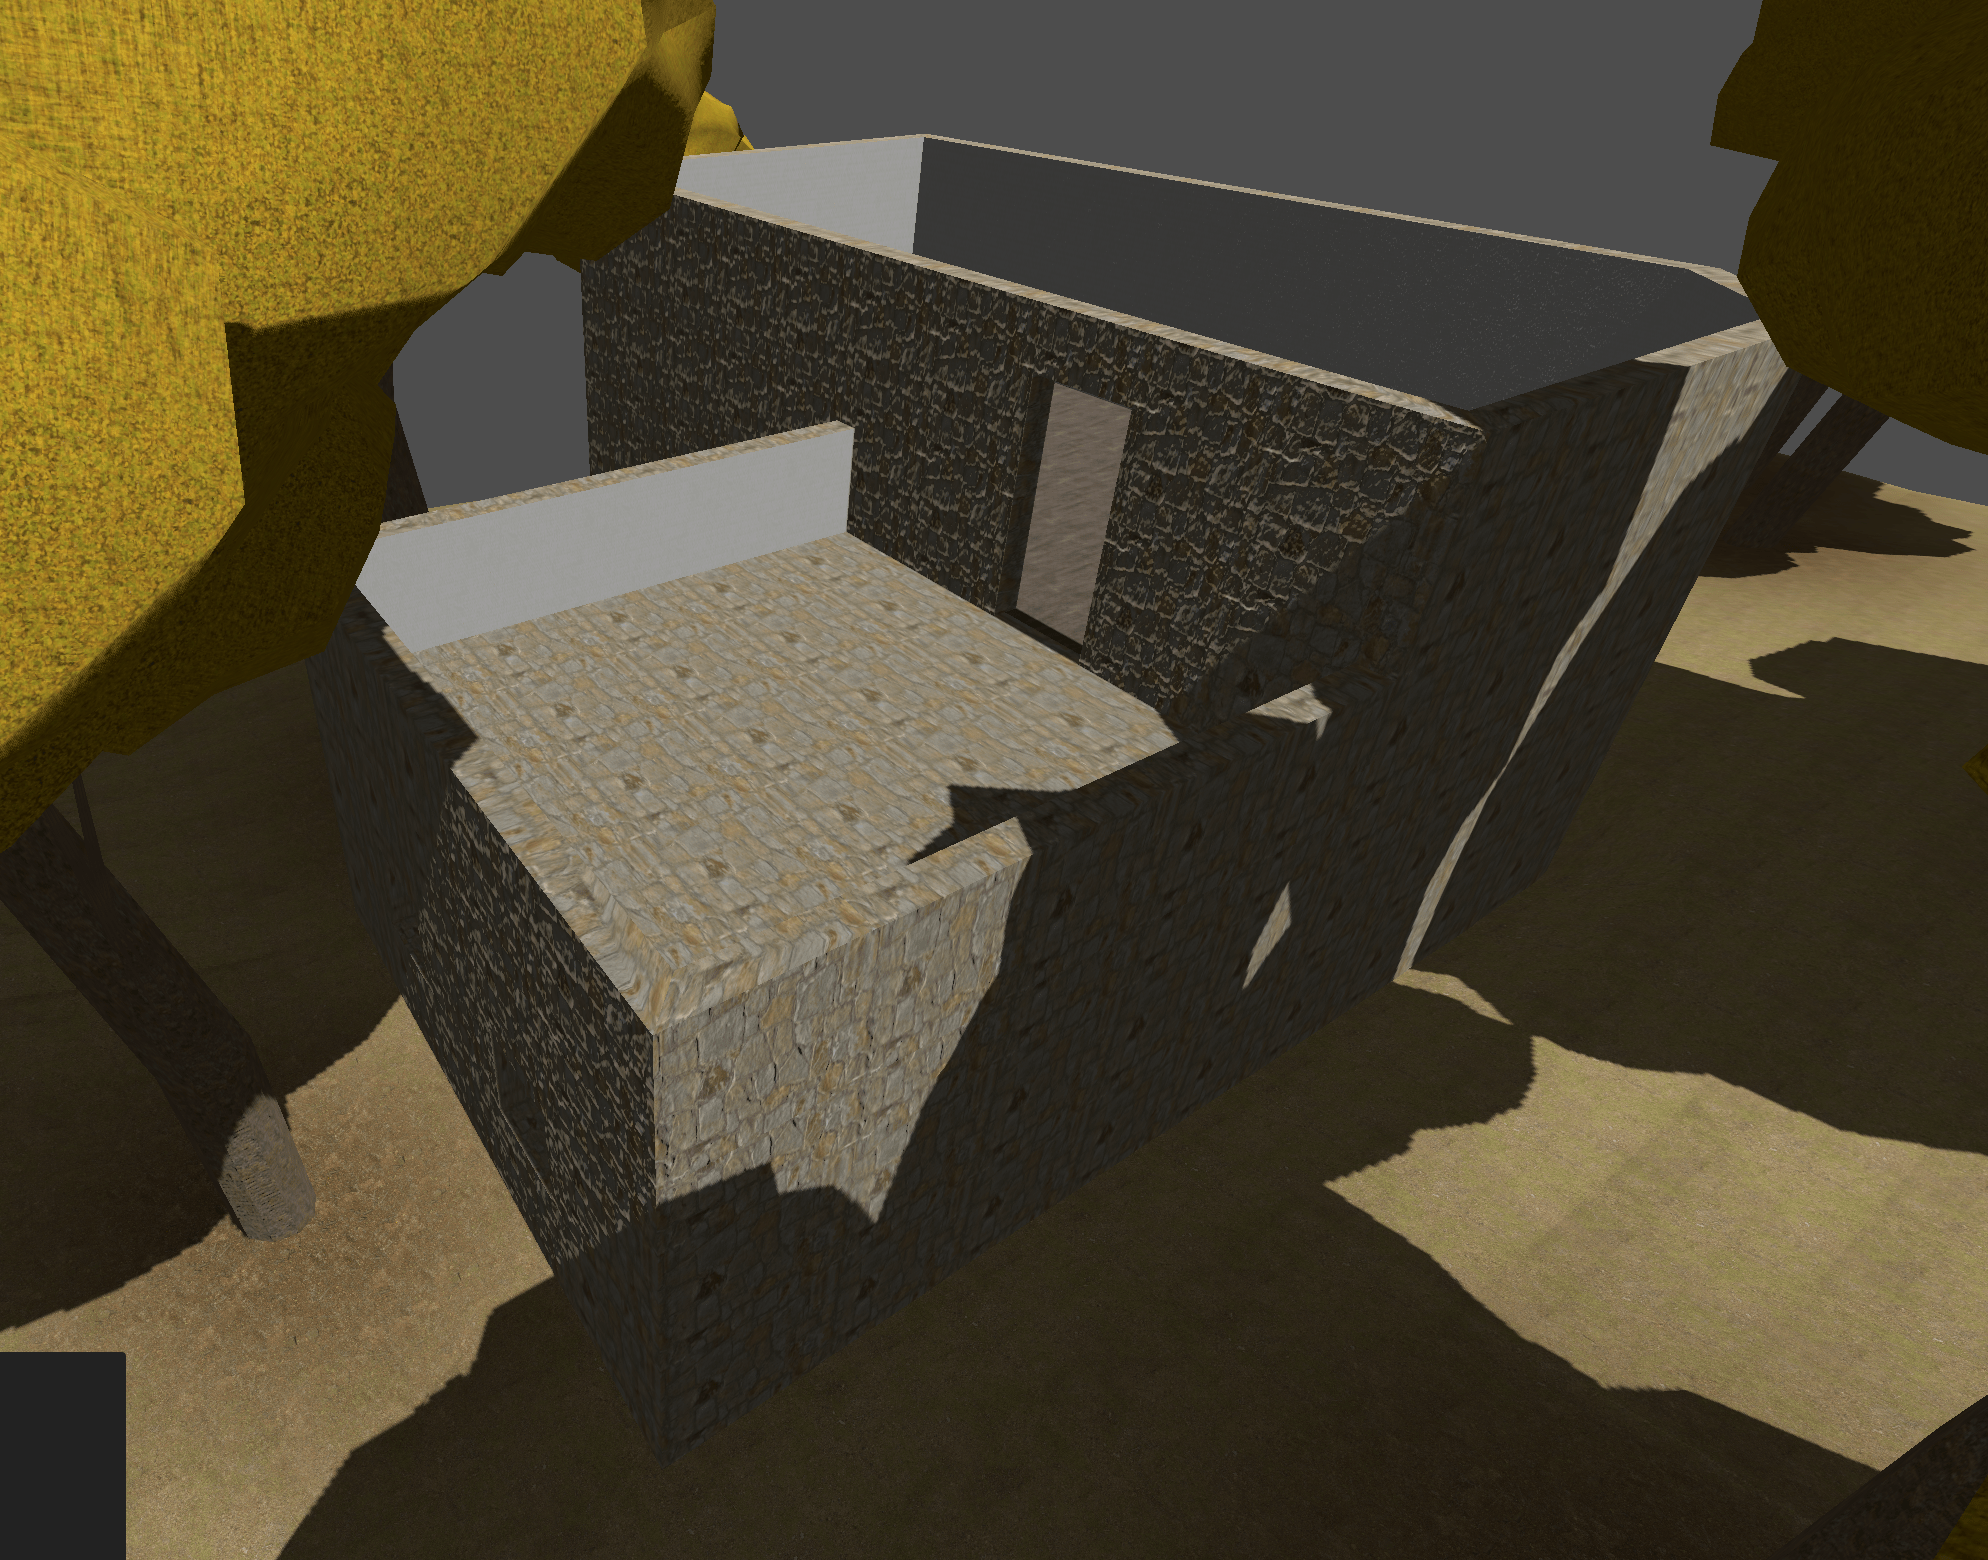
A small wall is 1 meter tall. I haven't yet decided if I'll allow players to climb over these or not.
Medium walls are 1.5 meters - though I probably won't use these much.
Large walls are 2.0 meters.
Finally, full walls are 2.5 meters. Each floor in the world is 2.5 meters high, so a full wall means it'll extend to the floor above.
Storey
The final bit of data we need to draw a wall segment is the wall's storey. This defines the wall's height offset from the terrain.
The values for storey can be Ground, First, Second or Third. Ground has no offset and each subsequent offset adds 2.5 meters.
Here are the final results.
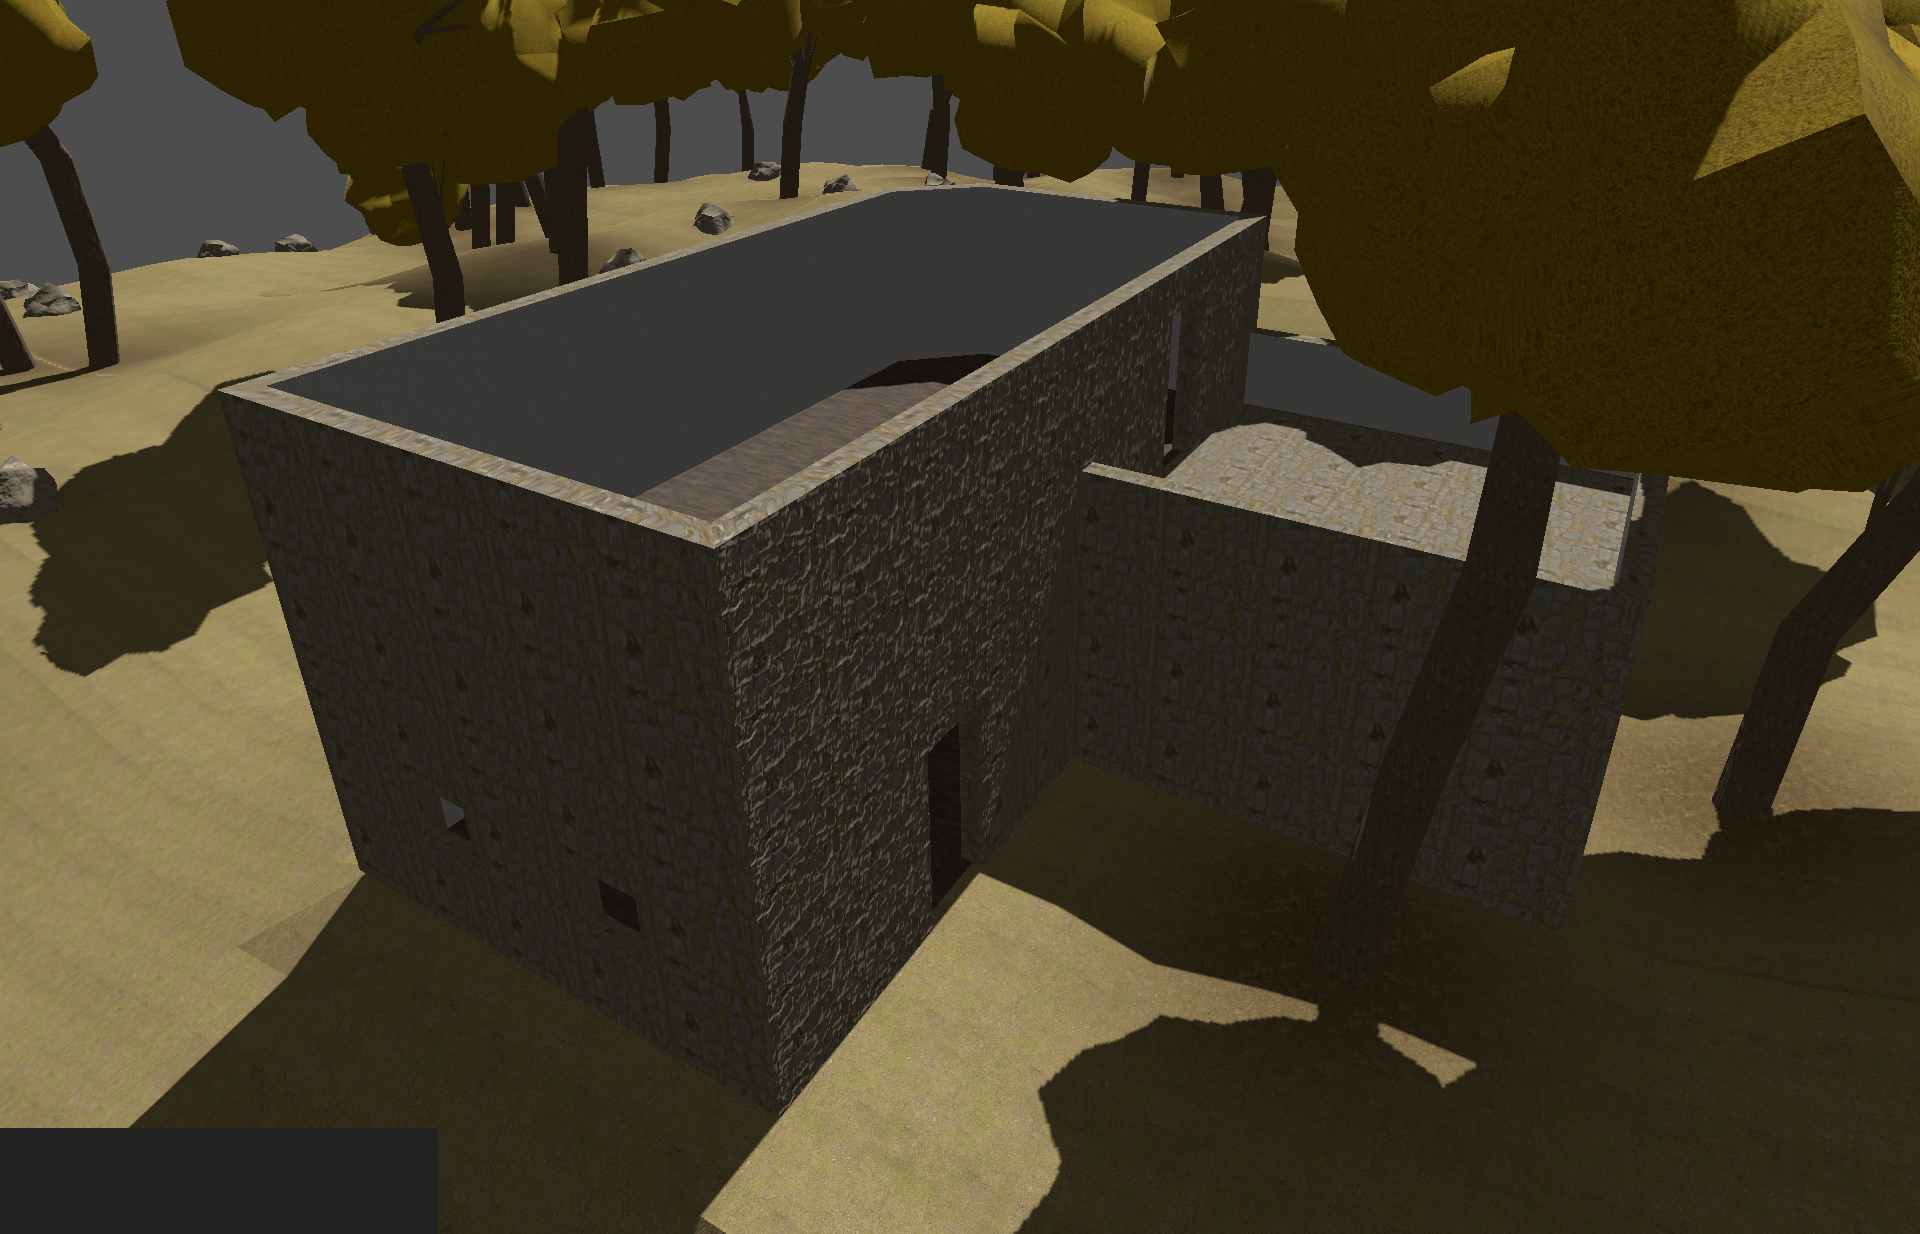
Floors!
I wasn't scheduled to work on floors for some weeks yet, but as walls and floors share a lot of the same information, I decided to do them at the same time.
Like walls, floors are defined as a series of points that mark their outline. We use these points to create a flat mesh.
At the moment, all floors are are rendered onto a plane and so have no depth (and no underside). This is fine for now, but in the future, I'll likely change that.
When a floor's storey isn't ground (or if a floor overhangs a cliff or something like that) I'll likely have to give it some depth to make sure it looks nice.
Another thing (which is a real nice to have at this stage) is to render a "bottom" for floors. It doesn't matter now, because the game doesn't let you pitch the camera up, but it'd be nice for when I want to add other camera angles.
Server progress
I'm not generally working on server code at the moment. Currently I'm running a local server simulator so I can test and build quickly.
With that said, I've been thinking about I could scale my servers. My (admittedly ambitious) goal is for each server to comfortably host about 5,000 people. We'll see how realistic that is in time.
Receiving and send packet data isn't actually a huge problem for servers - the slow part is processing player actions.
My vague plan at the moment is create a game server that looks a bit like this.
- Game server
  - Socket processor
  - Game processor
  - Player processor 1
  - Player processor 2
  - Player processor 3
  - Player processor 4
  - Player processor ...
The socket processor would receive packets and put them into something like a Redis.
The player processor would pull the packets out of redis, handle them and put different packets into the socket processor to send.
One difficulty I might have is synchronising all of the player processors, but it might work!
Anyway, that's the update for now. If you haven't already, subscribe using the box below and you'll receive updates straight to your email inbox.
Additionally, don't forget to join the Discord server for chat and updates about the game.
~ S